
Probably the most privileged Visa over the globe, this implies the complications and the amount of time it takes to get completed successfully. A single small error could cause rejection and even barring for many years.
I have detailed the process below for US Visa application, broken down in simple steps to help you easily understand and follow. Make sure you fulfill the requirements, meet obligations, adhere to regulations and policies and then only start tos submit the application, to rightly get it reviewed and passed.
Also Read: Merit vs. Need-Based Study Abroad Scholarships: Which Should You Target?
Table of Contents
Steps To US Visa Application
Step 1: Check the Validity of your Passport
Passport of the applicant must be valid for at least six months beyond their period of stay in the United States, unless there is any exemption by country-specific agreements. In case it isn’t, they must apply and obtain a new passport before applying for a visa.
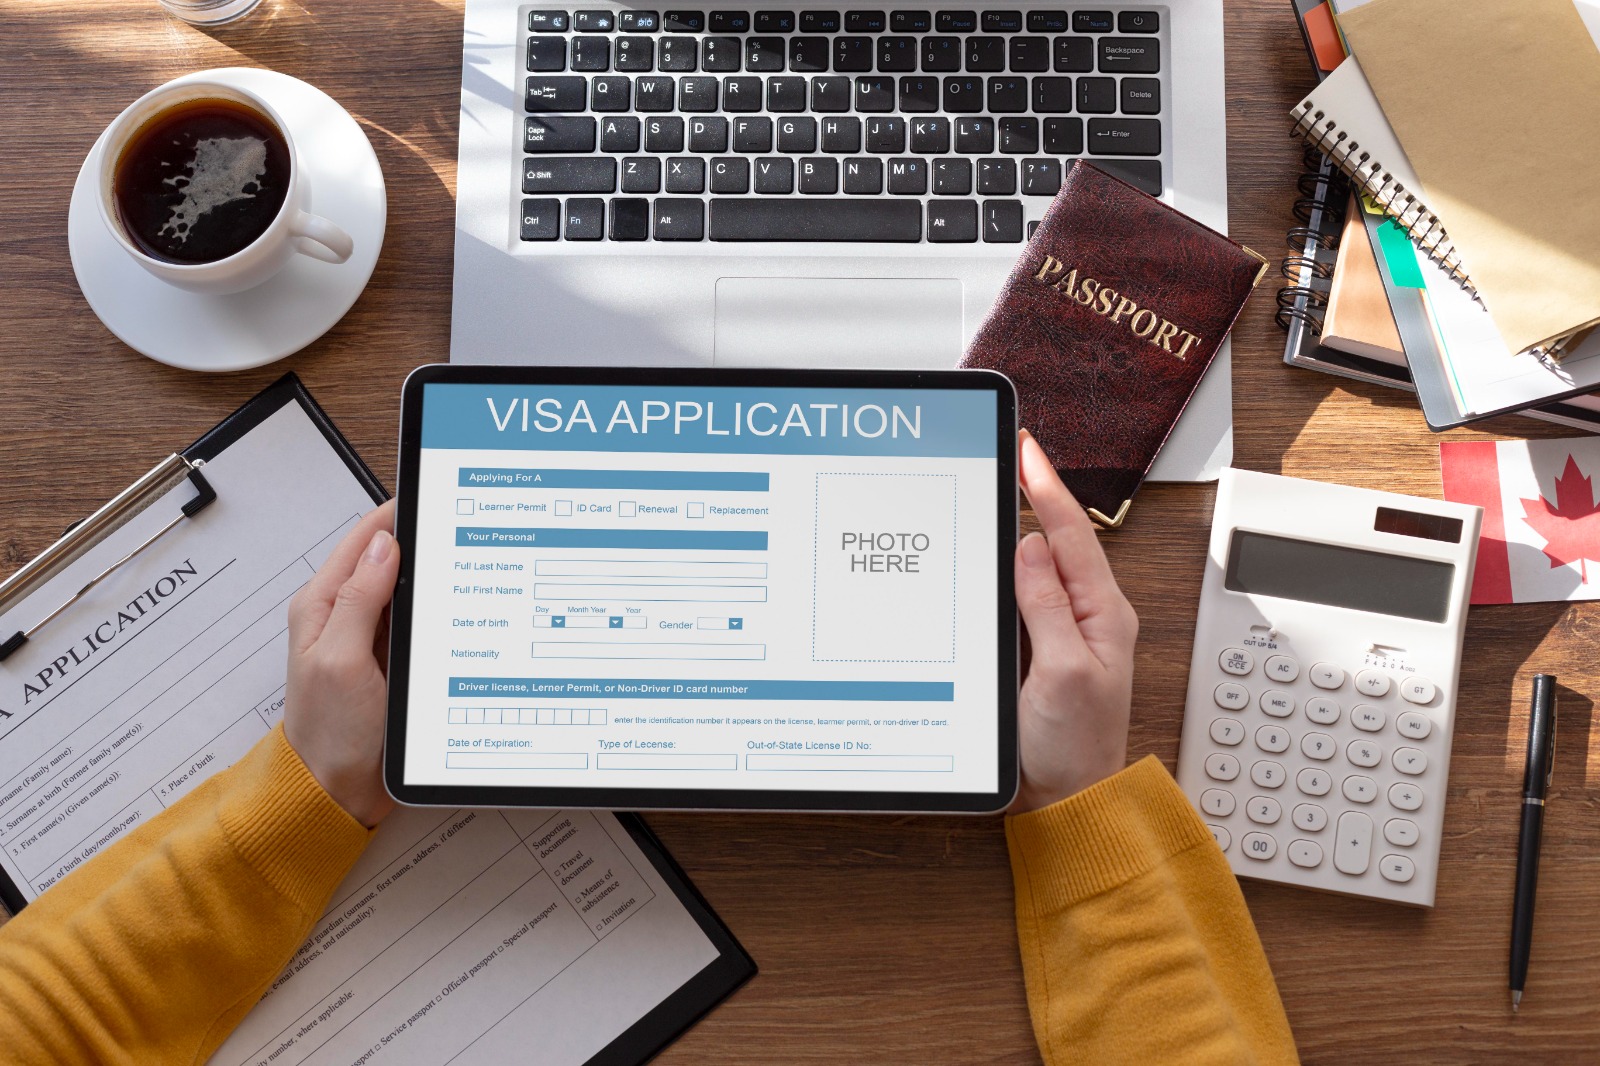
Step 2: Complete the Visa Application
Complete the Online Non-immigrant Visa Application, Form DS-160 .
Note the following important points:
- Ensure that you answer all the questions on the application form. In case the answer to a question is “none,” mention writing “none.” (Do not leave it blank.) Incomplete/incorrect forms are prone to be returned, and you will have to schedule a new interview appointment.
- The DS-160 form is free of cost and could even be filed by any individual with or without the help of any third party service.
Step 3: Collect any Supporting Documentation
Documents required for a nonimmigrant visa interview include:
- Passport
- DS-160 Confirmation Page (IMPORTANT: If the confirmation/barcode number on your DS-160 form does not match the one you used while booking your appointment, you will not be allowed to interview.)
- 2×2 inch (5×5 cm) photo taken within the last 6 months, no eyeglasses, with a white background
- For F, M, and J visa applicants only: I-20 or DS-2019 and proof of SEVIS payment, if required
- For H, L, or R visa applicants only: I-797 Approval Notice
Additional documents may be requested, such as:
- An invitation or sponsor letter for the purpose of your trip;
- Supporting documentation depicting your clear intent to depart the United States after your trip and/or your ability to pay all costs of the trip
- Marriage and/or birth certificates
- Transcripts for returning students
Step 4: Schedule an Interview Appointment, if required
To schedule an appointment for a non-immigrant visa (NIV) interview, you will have to consult the Embassy’s online NIV Appointment System, and keep your DS-160 Online Nonimmigrant Visa Application Form confirmation number handy. It is mentioned on your DS-160 confirmation page, in bold print.
New Requirement for Visa Interviews: Starting April 7, 2025, all visa applicants must bring a DS-160 visa application form with a confirmation/barcode number (starting with AA) that shall be the same to one used to make an appointment online.
Step 5: Visa Fee Payment and Interview
Arriving at the embassy on the date and time of your appointment.
During your visa interview, a consular officer will interview and determine whether you are qualified to receive a visa, and which visa category is appropriate as per your purpose of travel. You will be required to establish that you fulfill the requirements under U.S. law to receive the category of visa for which you are applying. Ink-free, digital fingerprint scans will also be collected as part of your application process.
The cost of the visa fee depends on the visa class for which you are applying. You can refer to travel.state.gov. For more details.
The current visa processing fees are:
- USD185 – B1/B2, F, J and non-petition -based visas
- USD205 – H, L, O, P, Q and R category visas
- USD315 – E3 category visa
Also Read: What Are the Requirements to Study Medicine Abroad?
Some visa types may include additional fees, such as L-1 and H-1B. Further, citizens of certain countries may be required to pay a reciprocity fee if the Consular officer approves your visa.
Step 6: Return to Collect your Passport and Visa
If your visa is approved, you could visit the Embassy the next workday after 9:00 am to collect your passport and visa. In case your visa application needs more time to be assessed, the Embassy will intimate you via an email or call when your visa is ready for pick-up.
Conclusion
The process is simple and quick, unless there is any ground for the embassy to speculate or be perplexed about your previous travel countries, or in particular the purpose of your visit to the states. Make sure you keep the documents ready and follow the procedure as mentioned. In case of any complication, you can always visit the official web page or even the embassy and get confirmed about any of your concerns you may have.